- realistic materials in realistic view
- ambient occlusion
- performance of mechanical views
- performance of underlay views
- performance of overall project
Showing posts with label Rendering. Show all posts
Showing posts with label Rendering. Show all posts
Friday, April 16, 2010
Should I enable Hardware Acceleration?
Hardware Acceleration (in options) controls the performance of several features in Revit 2011 including:


Friday, June 27, 2008
Revit 2009 Rendering
Here is me doodling with Revit's new rendering engine in 2009.

I had to scale the roof tiles to 16' and the grass to 6". I also had to load some of our custom families to detail the elevations. The plants are out of the box.

I had to scale the roof tiles to 16' and the grass to 6". I also had to load some of our custom families to detail the elevations. The plants are out of the box.
Friday, March 28, 2008
My Work
It occured to me that I never once posted pictures of any project I worked on, so here are two images from a model I built back in Revit 4.5


Thursday, October 19, 2006
Autodesk Impression
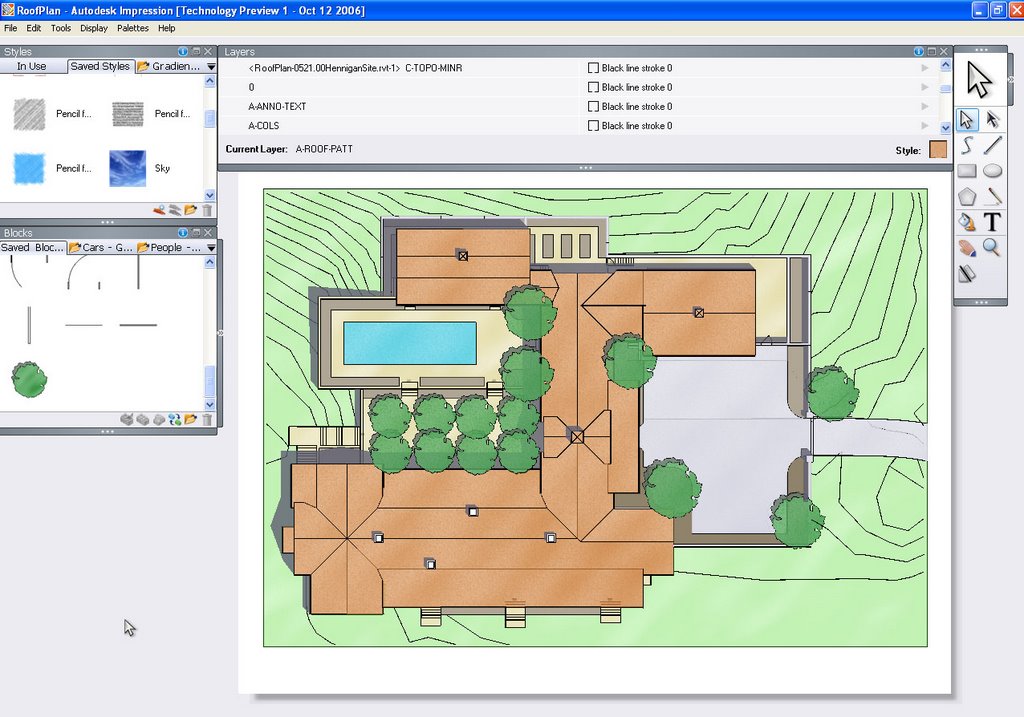
Matt Rumbelow reports on his blog The Digital Architect that Autodesk Impression is now available for download. I've attached an image of one of our projects exported From Revit Building to dwg... imported into Impression... and rendered using out of the box tools. If you know photoshop, using this software is a snap.
Wednesday, October 04, 2006
Materials in Families
When building your families you might notice there are many ways to apply materials to your solids. Here are 4 ways to apply materials and some reasons for using each.
Element Properties
The most obvious method is to extrude a shape... go to its properties and specify a material for your solid form in the Material parameter under the Materials & Finishes group.
Element Properties
The most obvious method is to extrude a shape... go to its properties and specify a material for your solid form in the Material parameter under the Materials & Finishes group.

The Paint Tool
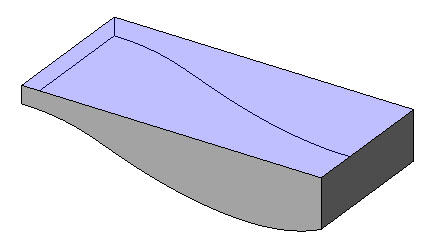
Goto Tools... Paint and you can also paint materials onto individual surfaces like the surface of a pool.
Goto Tools... Paint and you can also paint materials onto individual surfaces like the surface of a pool.
Material Parameters
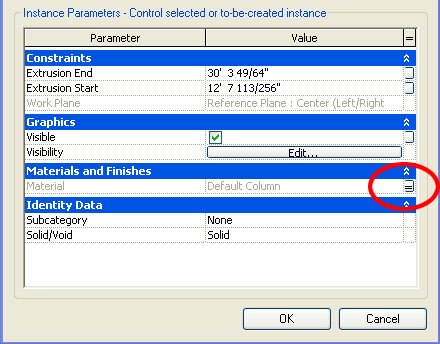
While in the Family Editor go to Family Types... Add Parameter... and specify a new parameter of Type "Material." Now associate your new parameter to the Material parameter in Element Properties of the solid form (click tiny grey button). Once loaded into a project go to the Family's properties... Edit/New. You can now change the material from Family Type to Family Type. This method is very useful if you're expecting the material to change depending on the Family Type.

By Category
Extrude a shape... go to its properties and set your material to "By Category." You'll notice a parameter called Subcategory. To add a custom Subcategory go to Settings... Object Styles. After you've created your custom subcategory go back to the elements properties and assign the Subcategory to your solid form. Now when you load your family into a project file you can control materials globally in Settings... Object Styles. This method is very useful if you want to control the palette of your project globally from Object Styles.
Extrude a shape... go to its properties and set your material to "By Category." You'll notice a parameter called Subcategory. To add a custom Subcategory go to Settings... Object Styles. After you've created your custom subcategory go back to the elements properties and assign the Subcategory to your solid form. Now when you load your family into a project file you can control materials globally in Settings... Object Styles. This method is very useful if you want to control the palette of your project globally from Object Styles.

Subscribe to:
Posts (Atom)